| Line 23: | Line 23: | ||
==Hostage Situation== |
==Hostage Situation== |
||
| + | |||
| + | [[File:HostageSituation2.png|thumb]] |
||
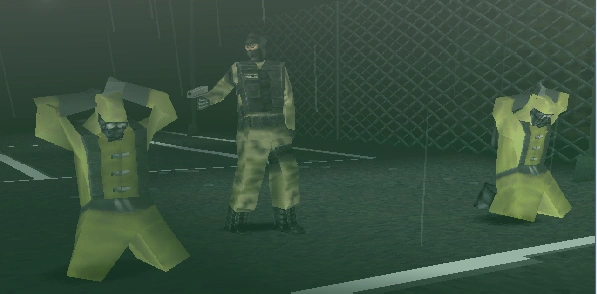
Now that the boms are all disarmed, continue along the path until you reach the tennis courts. There will be a guard patrolling near the entrance. It is essential that you finish him silently and without alerting him, otherwise he will alert the guard holding the hostages. When he is done, creep into the court itself. Using the night vision rifle, shoot him in the head. When he is dead, a transmission to Lian will automatically begin. You will tell her that the hostages are free and that you are back on task, and she goes to inform the CBDC commander. Should you choose to listen to it, another guard will spawn where the CBDC agents are running - if you don't, you can follow them all the way to the Freedom Memorial, and that guard will not spawn. |
Now that the boms are all disarmed, continue along the path until you reach the tennis courts. There will be a guard patrolling near the entrance. It is essential that you finish him silently and without alerting him, otherwise he will alert the guard holding the hostages. When he is done, creep into the court itself. Using the night vision rifle, shoot him in the head. When he is dead, a transmission to Lian will automatically begin. You will tell her that the hostages are free and that you are back on task, and she goes to inform the CBDC commander. Should you choose to listen to it, another guard will spawn where the CBDC agents are running - if you don't, you can follow them all the way to the Freedom Memorial, and that guard will not spawn. |
||
| + | |||
==Satellite Uplink Dish and Killing Marcos== |
==Satellite Uplink Dish and Killing Marcos== |
||
Follow the trail of the CBDC agents to an odd structure. There are four guards nearby, so take care of them. Climb up on the structure and press Triangle to make the connections. Lian will give you the name of Rhomer's trigger man, [[Jorge Marcos]]. She says that she will upload his dossier to your device (information useless in the game itself), and Gabe will tell her to add him to your hitlist. Once these transmissions are complete, you can jump down from the structure. There will be a headge maze ahead - creep around in there. There will be several guards with shotguns. Marcos has a .45 and a flak jacket, so it is advised to use the Silenced 9mm to take enemies out silently. A headshot will finish Marcos nicely. Lian will contact you, babbling some nonsense about "ghosting an entire frequency." You can now go to the Freedom Memorial - just keep following the main path of the hedge maze. |
Follow the trail of the CBDC agents to an odd structure. There are four guards nearby, so take care of them. Climb up on the structure and press Triangle to make the connections. Lian will give you the name of Rhomer's trigger man, [[Jorge Marcos]]. She says that she will upload his dossier to your device (information useless in the game itself), and Gabe will tell her to add him to your hitlist. Once these transmissions are complete, you can jump down from the structure. There will be a headge maze ahead - creep around in there. There will be several guards with shotguns. Marcos has a .45 and a flak jacket, so it is advised to use the Silenced 9mm to take enemies out silently. A headshot will finish Marcos nicely. Lian will contact you, babbling some nonsense about "ghosting an entire frequency." You can now go to the Freedom Memorial - just keep following the main path of the hedge maze. |
||
Revision as of 02:06, 15 March 2013
Washington Park is the fourth level of the first game in the Syphon Filter series. After defeating Mara Aramov in the previous level, Gabe Logan rushes to a park in Washington, D.C. to aid Jenkins' team.
Location: Washington, D.C., United States
Previous Level: Main Subway Line
Next Level: Freedom Memorial
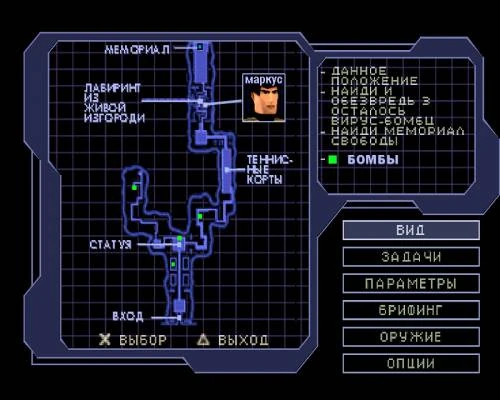
map "Washington DC: Washington DC Park¡"
Disarm The Viral Bombs
The mission starts after Lian informs you that she has modified your frequency to niner four-seven and that CBDC agents are standing by. There are four total bombs hidden throughout the level denoted by flashing blips on the map. Each bomb will become more difficult to defend than the last as the bombs take more time to defuse and more guards converge on your position.
The First Bomb
Gabe arms the first bomb.
The first bomb is located a short way from the stop. Kill the guard patrolling a few yards away from you and the guard with the night vision rifle standing on top of the stone structure. Go through this entrance and turn left, killing the guard who is walking toward you (this is the first introduction to the .45). Turn down the path from which he originated, and continue straight until you see a flashing blip on the map. Go into this small structure, where you will see the
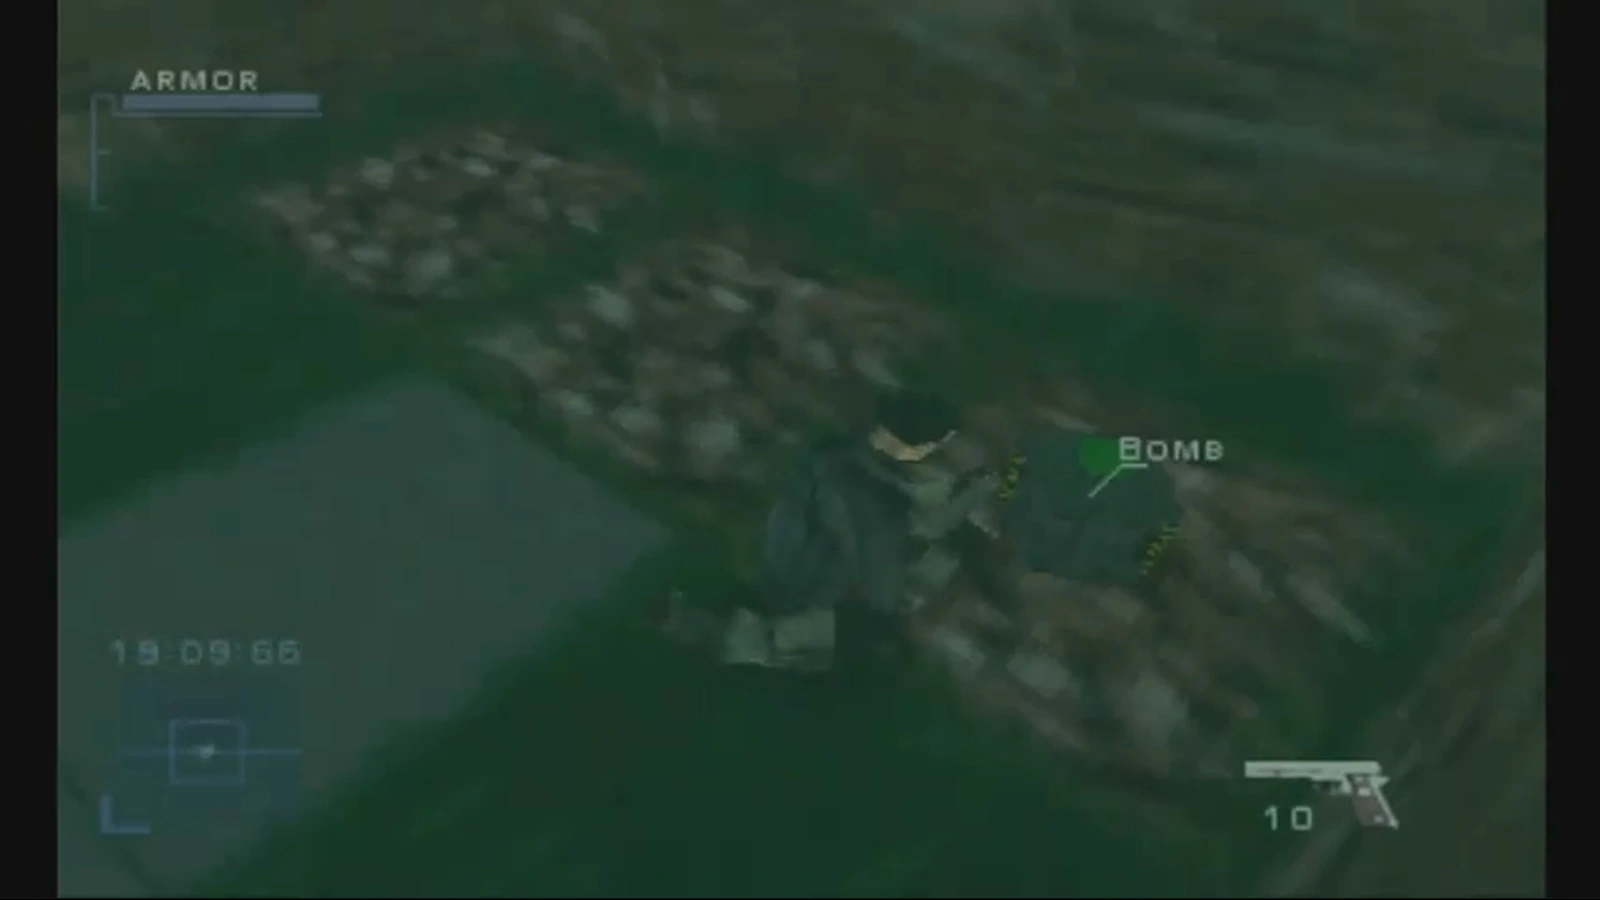
bomb. Press the Triangle button to place a flashing green beacon on the device; a CBDC agent will arrive shortly after Lian confirms that your beacon is transmitting. Three or four of Rhoemer's men will attack you, but they should be easily taken care of. When the bomb is defused and all guards eliminated, Lian should report that the area is "all clear."
The Police Memorial
After the first bomb has been taken care of, continue down the main path leading from the structure that the nigh vision rifle guard was standing on. Lian will send you radio traffic informing you that CBDC has a hostage situation in a tennis court deeper within the park; this will become your second objective. For now, the second bomb will be behind the memorial statue of the policeman. Place the beacon as before, and protect the CBDC agent who arrives. There will be slightly more resistance this time, so be cautious of guards arriving on all sides. You should have plenty of .45 ammo by this time, so use it to kill enemies. It will become invaluable as a powerful 360 degree weapon.
The Most Annoying Bomb
With the second bomb down, there are two more to go. Facing the wall behind where the bomb was, turn left and travel through the small tunnel. Where it lets out, there should be a guard - peek out and take care of him. To the left there will be another guard; kill him and go out onto the trail. At some point you should receive a transmission from Lian who informs you about a satellite uplink dish hidden somewhere in the park. Throughout this section of the park are men with night vision rifles, so use your own. Follow the path on the ground (you may have to adjust your brightness to see it fully), and you will end up next to a building with the bomb. There may also be an enemy on the roof. A little farther into the park there is a building with a box of M16 ammo. After setting the beacon, wait for the CBDC agent to arrive. It would be a good idea to equip the .45 or the M16 for this part as men will come from all sides. Because of this, this is probably the hardest bomb to defend. It takes a long time to disarm, and Rhoemer seems to have sicked the whole of Black Baton on you. Just watch your back and you should be okay.
The Final Bomb
Follow the path back to the open area where you encountered the guard at the end of the tunnel. A few men should spawn with shotguns, so be careful. There is a flak jacket in a box in this area, so use it to your advantage. Run back to the police memorial and go forward until you reach a long, wide path lined with plants. Follow this path all the way to the last bomb. This one is fairly easy as long as your be careful not the shoot the CBDC agent when he stands up. Once it's disarmed, Lian will notify you that all of the bombs have been disabled and will advise you to go find Girdeux.
Hostage Situation
Now that the boms are all disarmed, continue along the path until you reach the tennis courts. There will be a guard patrolling near the entrance. It is essential that you finish him silently and without alerting him, otherwise he will alert the guard holding the hostages. When he is done, creep into the court itself. Using the night vision rifle, shoot him in the head. When he is dead, a transmission to Lian will automatically begin. You will tell her that the hostages are free and that you are back on task, and she goes to inform the CBDC commander. Should you choose to listen to it, another guard will spawn where the CBDC agents are running - if you don't, you can follow them all the way to the Freedom Memorial, and that guard will not spawn.
Satellite Uplink Dish and Killing Marcos
Follow the trail of the CBDC agents to an odd structure. There are four guards nearby, so take care of them. Climb up on the structure and press Triangle to make the connections. Lian will give you the name of Rhomer's trigger man, Jorge Marcos. She says that she will upload his dossier to your device (information useless in the game itself), and Gabe will tell her to add him to your hitlist. Once these transmissions are complete, you can jump down from the structure. There will be a headge maze ahead - creep around in there. There will be several guards with shotguns. Marcos has a .45 and a flak jacket, so it is advised to use the Silenced 9mm to take enemies out silently. A headshot will finish Marcos nicely. Lian will contact you, babbling some nonsense about "ghosting an entire frequency." You can now go to the Freedom Memorial - just keep following the main path of the hedge maze.
The Freedom Memorial
At the end of the maze, there will be a ramp going down into a ravine of sorts. Go down this ramp, and then hide where guards from the other ramp can't hit you. Each of them has a flak jacket. If you have any grenades left from the first mission, use them here. When all of the guards are dead, there is 9mm ammunition to the left of the memorial. It isn't very useful, but it's still there. When you have acquired this, go up to the entrance. The screen will fade; mission complete.